One of my favorite things about Thanksgiving besides stuffing my face and seeing family is decorating for Christmas! As a child it was tradition to put up the Christmas tree! As an adult i’ve decided to stick to that tradition. I’ve also taken it a bit further. At the Liska residence, we decorate the entire house for christmas on turkey day! The tree goes up. All christmas trinkets are put on display. Stockings are hung.
This year it hit me that we were short one stocking since we added one to our family recently. Rogue didn’t have a Christmas stocking. I decided to whip her up a quick one to go along side the ones I made last year.
These stockings are made of burlap in natural, red, and green that can be found in Joann fabric’s vast collection.
Step 1 – Find or make a stocking pattern.
I found this pattern on a blog last year. I tried to find it again to link to but had no luck. There are tons of free printable patterns out there on the internet. Just search “christmas stocking pattern.”

Step 2 – Trace the pattern on to natural burlap.
I also measured 2 inches down from the top of the stocking because this will be where I fold it down to make the hem when it gets to that point.
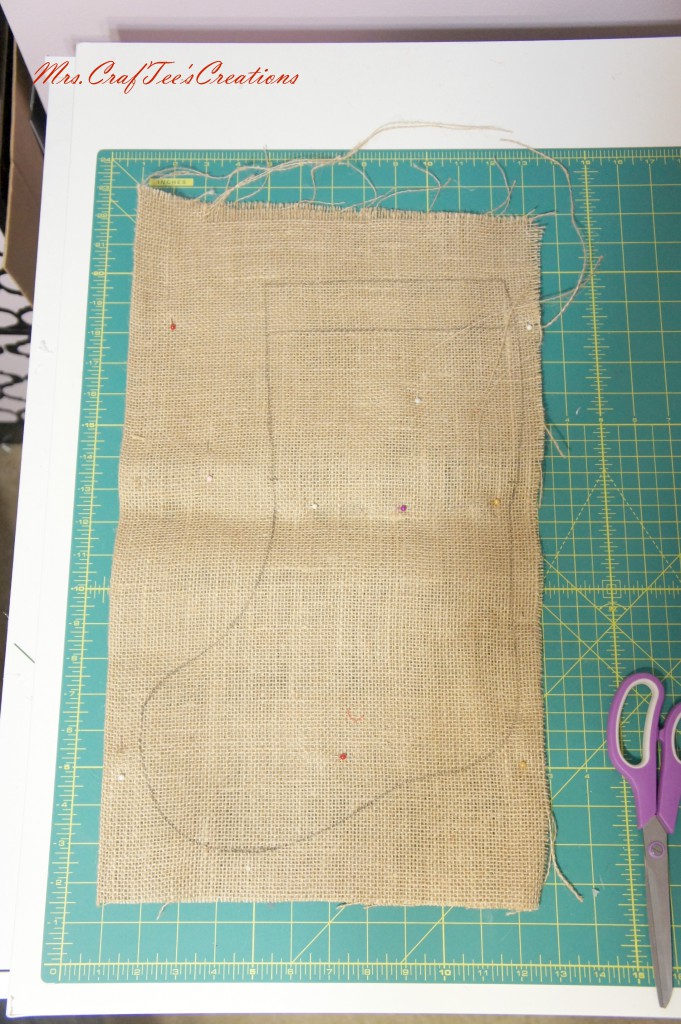
Step 3 – Double up the natural burlap.
This will make the stocking’s second side.
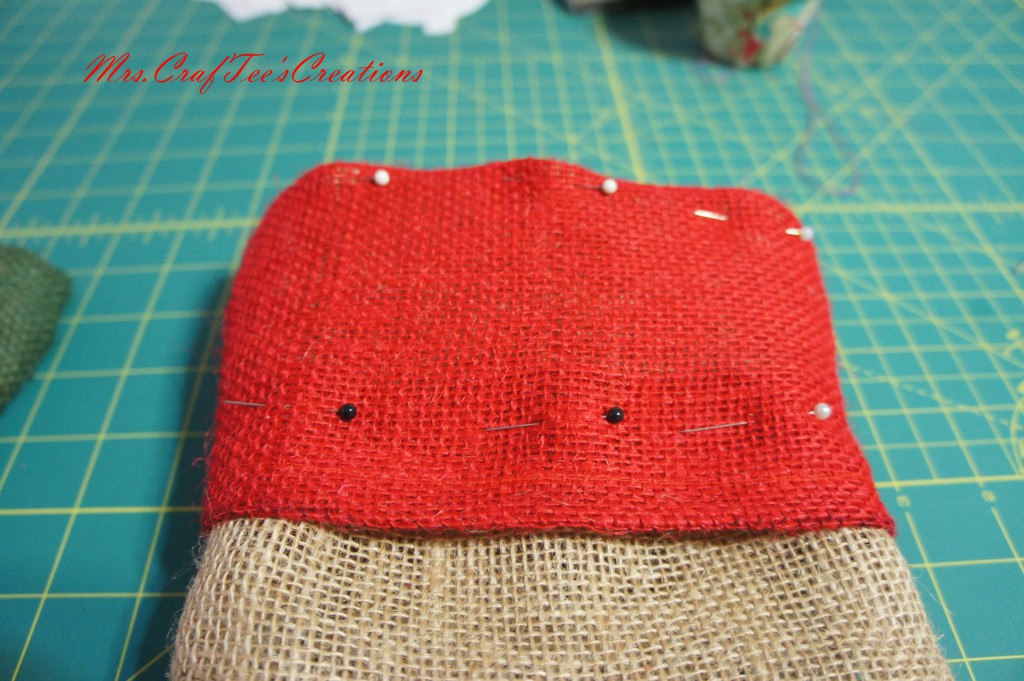
Step 4 – Take the colored burlap and pin a hem on to one end by folding about an inch on to itself. Sew the hem down.
Step 5 – Sandwich the colored burlap between the tops of the two natural burlap pieces.
( I did this part a little different on the previous stockings but this way was a quick make)

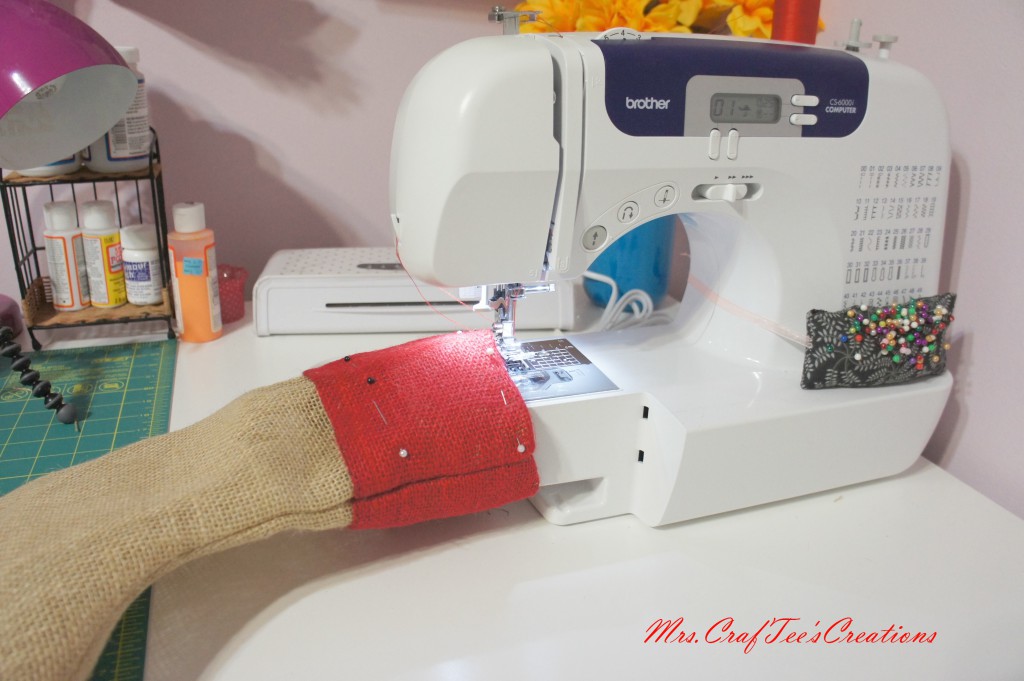
Step 6 – Sew along the pattern making sure to catch the colored burlap on both sides of the pattern.
Step 7 – Trim the excess burlap from the sides of the stocking.
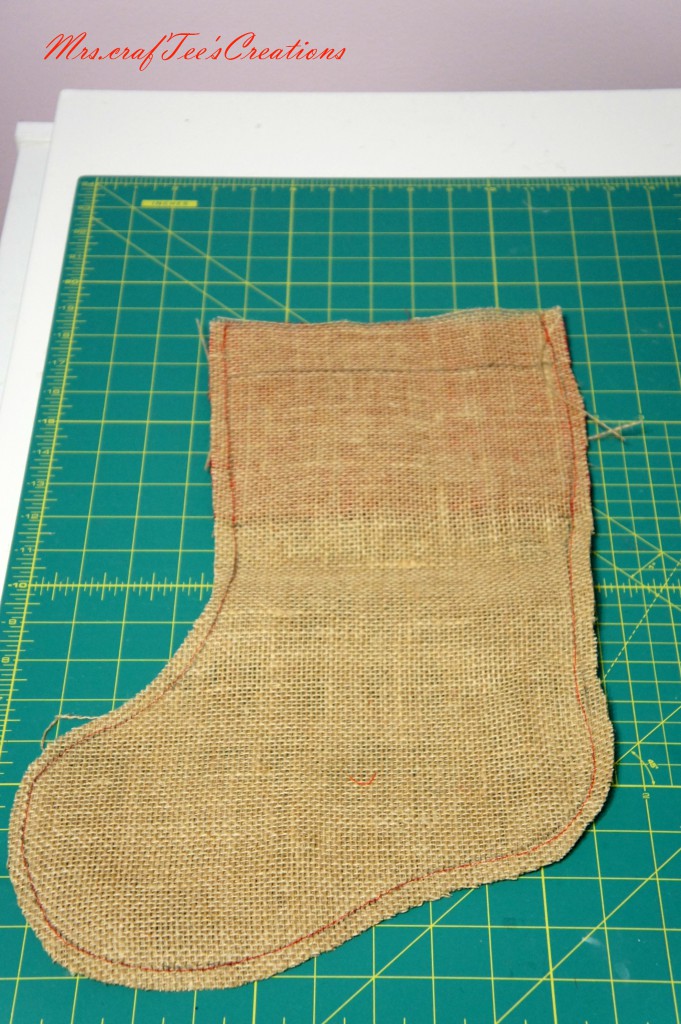
Turn the stocking right side out. It should look like this.
Step 8 – Fold the top of the stocking about 2 in. down into the inside.
This is where that previous marking on my stocking came in handy. Pin your hem so it will stay when sewing.
Step 9 – Sew the top hem of the socking.
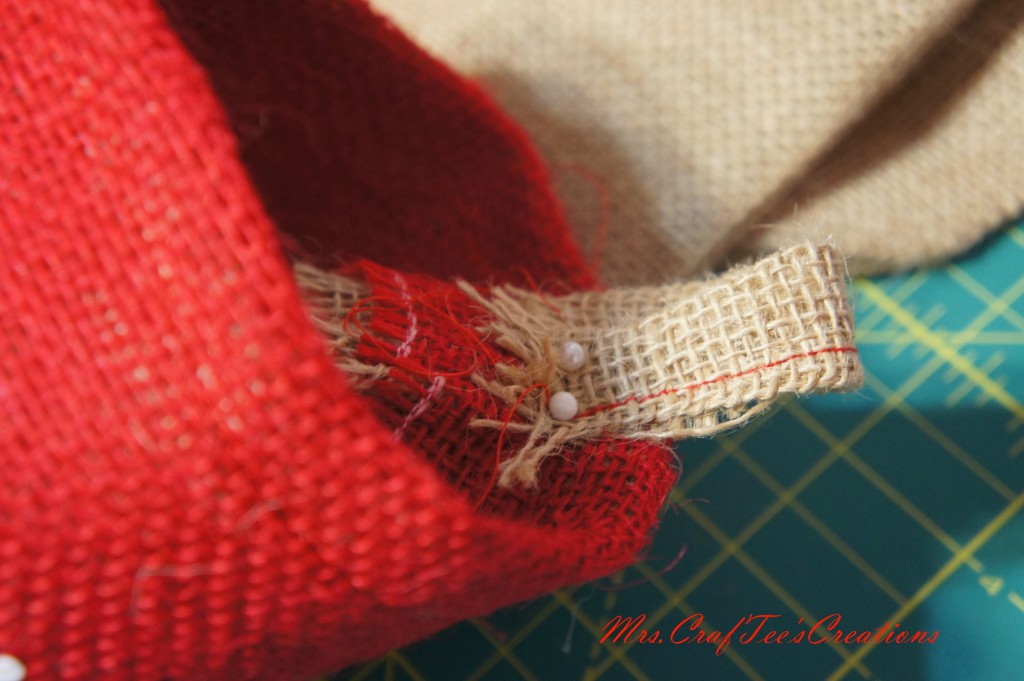
Step 10 – Make a loop to hang it.
I took a pice of scrap burlap, folded it to make a tube, flattened the tube, and pined it to sew. Sew along the side of the tube to close it. It should look something like this.

Step 11 – Fold the sewn burlap scrap on to its self to make a loop. Pin it to the inside of the stocking, and sew across it 2 or 3 times.
And your finished! A very quick and dirty take on these burlap Christmas stockings!
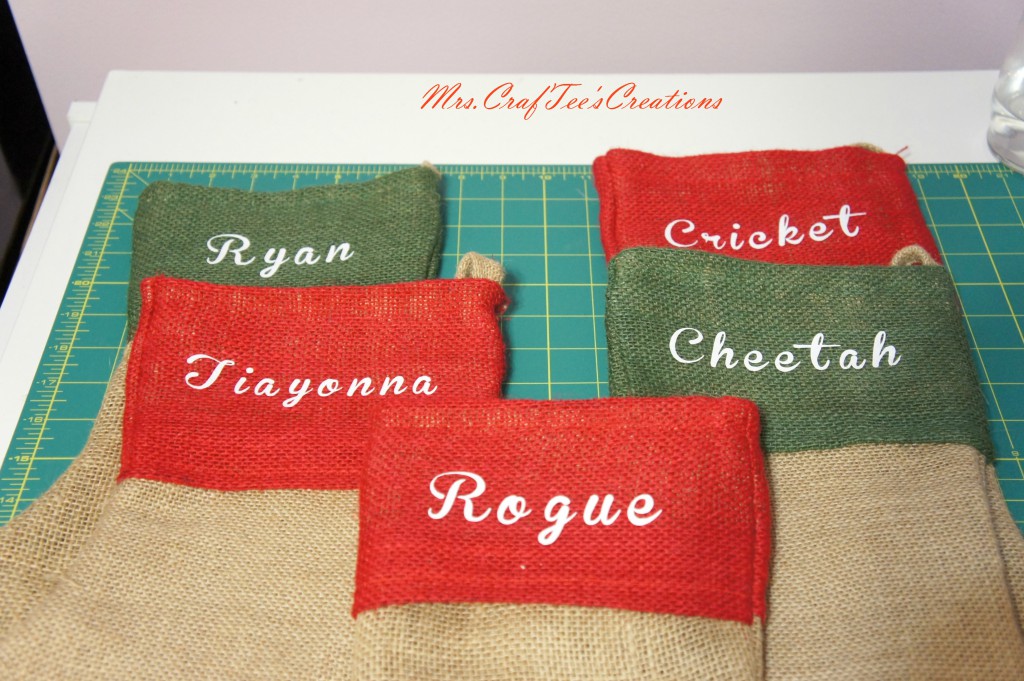
I added names to ours to personalize them. Something we didn’t have last year. Once again, done with the help of the Cricut Explore using HTV and the “Songbird” font in Design Space.


Leave a Reply