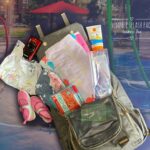
Shortly after rescuing Rogue we encountered some common issues that come along with a new puppy. One being her very active nature and need to constantly wrap her needle-like teeth around something. After just a few weeks with her new memory foam, heated, fancy, $80 bed she ripped half of it to shreds. Lucky for us we didn’t pay $80 for it. Man, I would have had a heart attack if we had. We actually got it on clearance for $20 at Petsmart. Anyway, this is when we realized we would never be spending crazy amounts of money on this little ones’ stuff!
So Rogue needed a new bed. Preferably one not expensive and one a little less easy to destroy. Our dog trainer suggested a raised bed, a lot like the cots you find at the dog boarders. After looking into them we decided we wanted to make her one. They were simple, which was great, and I could make it cute! This was also important because it would be on display in our living room.
Materials:
- PVC pipe
- Four 3-way PVC Elbow joints
- Fabric of your choosing ( I used outdoor furniture fabric)
- Sewing machined notions
- Foam insert (optional- this was the surviving half of her first bed)
- Zipper in coordinating color as fabric (optional)
-First thing we did was decide on the height we wanted it off the ground. (This will be the hight of the legs of the bed.) We had four 9″ pieces of PVC cut in the Home Depot.
-Second we had two pieces of PVC cut to the length of the frame we wanted and two pieces cut to the width. Our dimensions are 37″ X 27″. You can choose any dimensions that works for your space.To connect the frame you will need the Elbow joints.
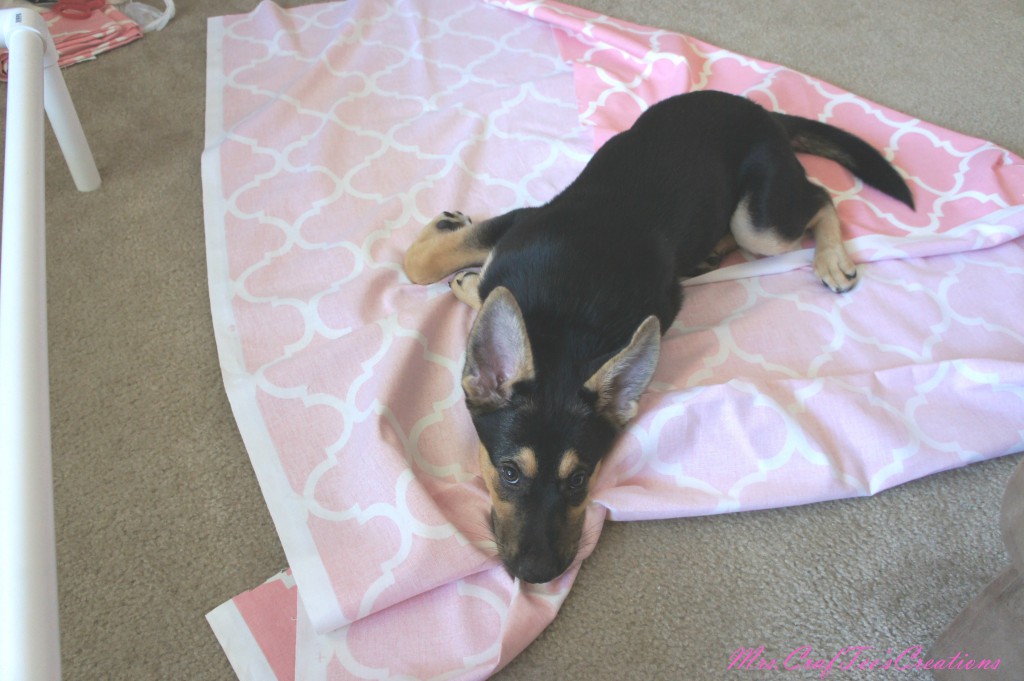
After Home Depot we took a trip to Joann’s Fabric store to find the perfect fabric for the project. It was a tough decision but in the end Ryan gave in and let me girly it up for our princess with this pink quatrefoil pattern!
Rogue Approved of it when we got home!
The second half of this project was left to me. Sewing the fabric to insert the PVC in. Below you’ll find a picture log of how it was done.
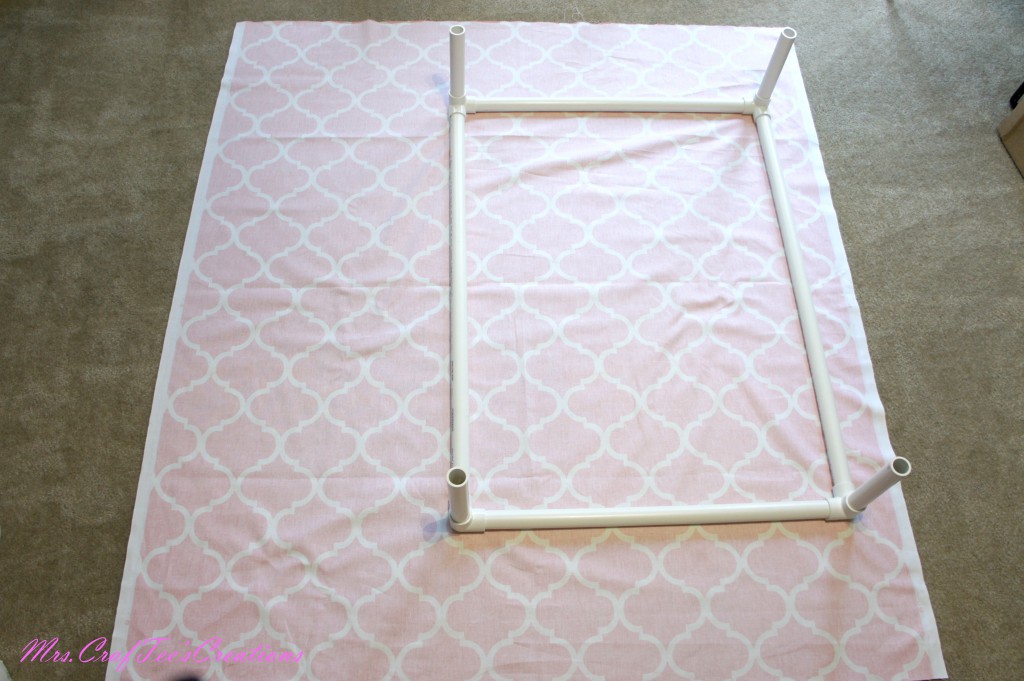
Place PVC frame on fabric to get dimensions
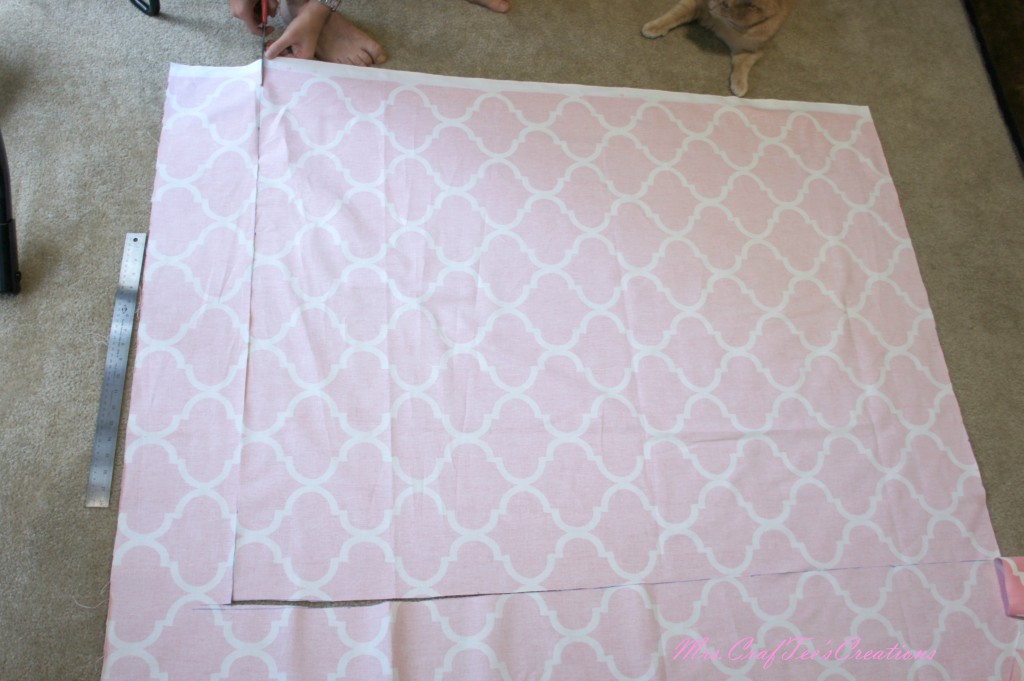
Cut a square out of the fabric larger than the frame.
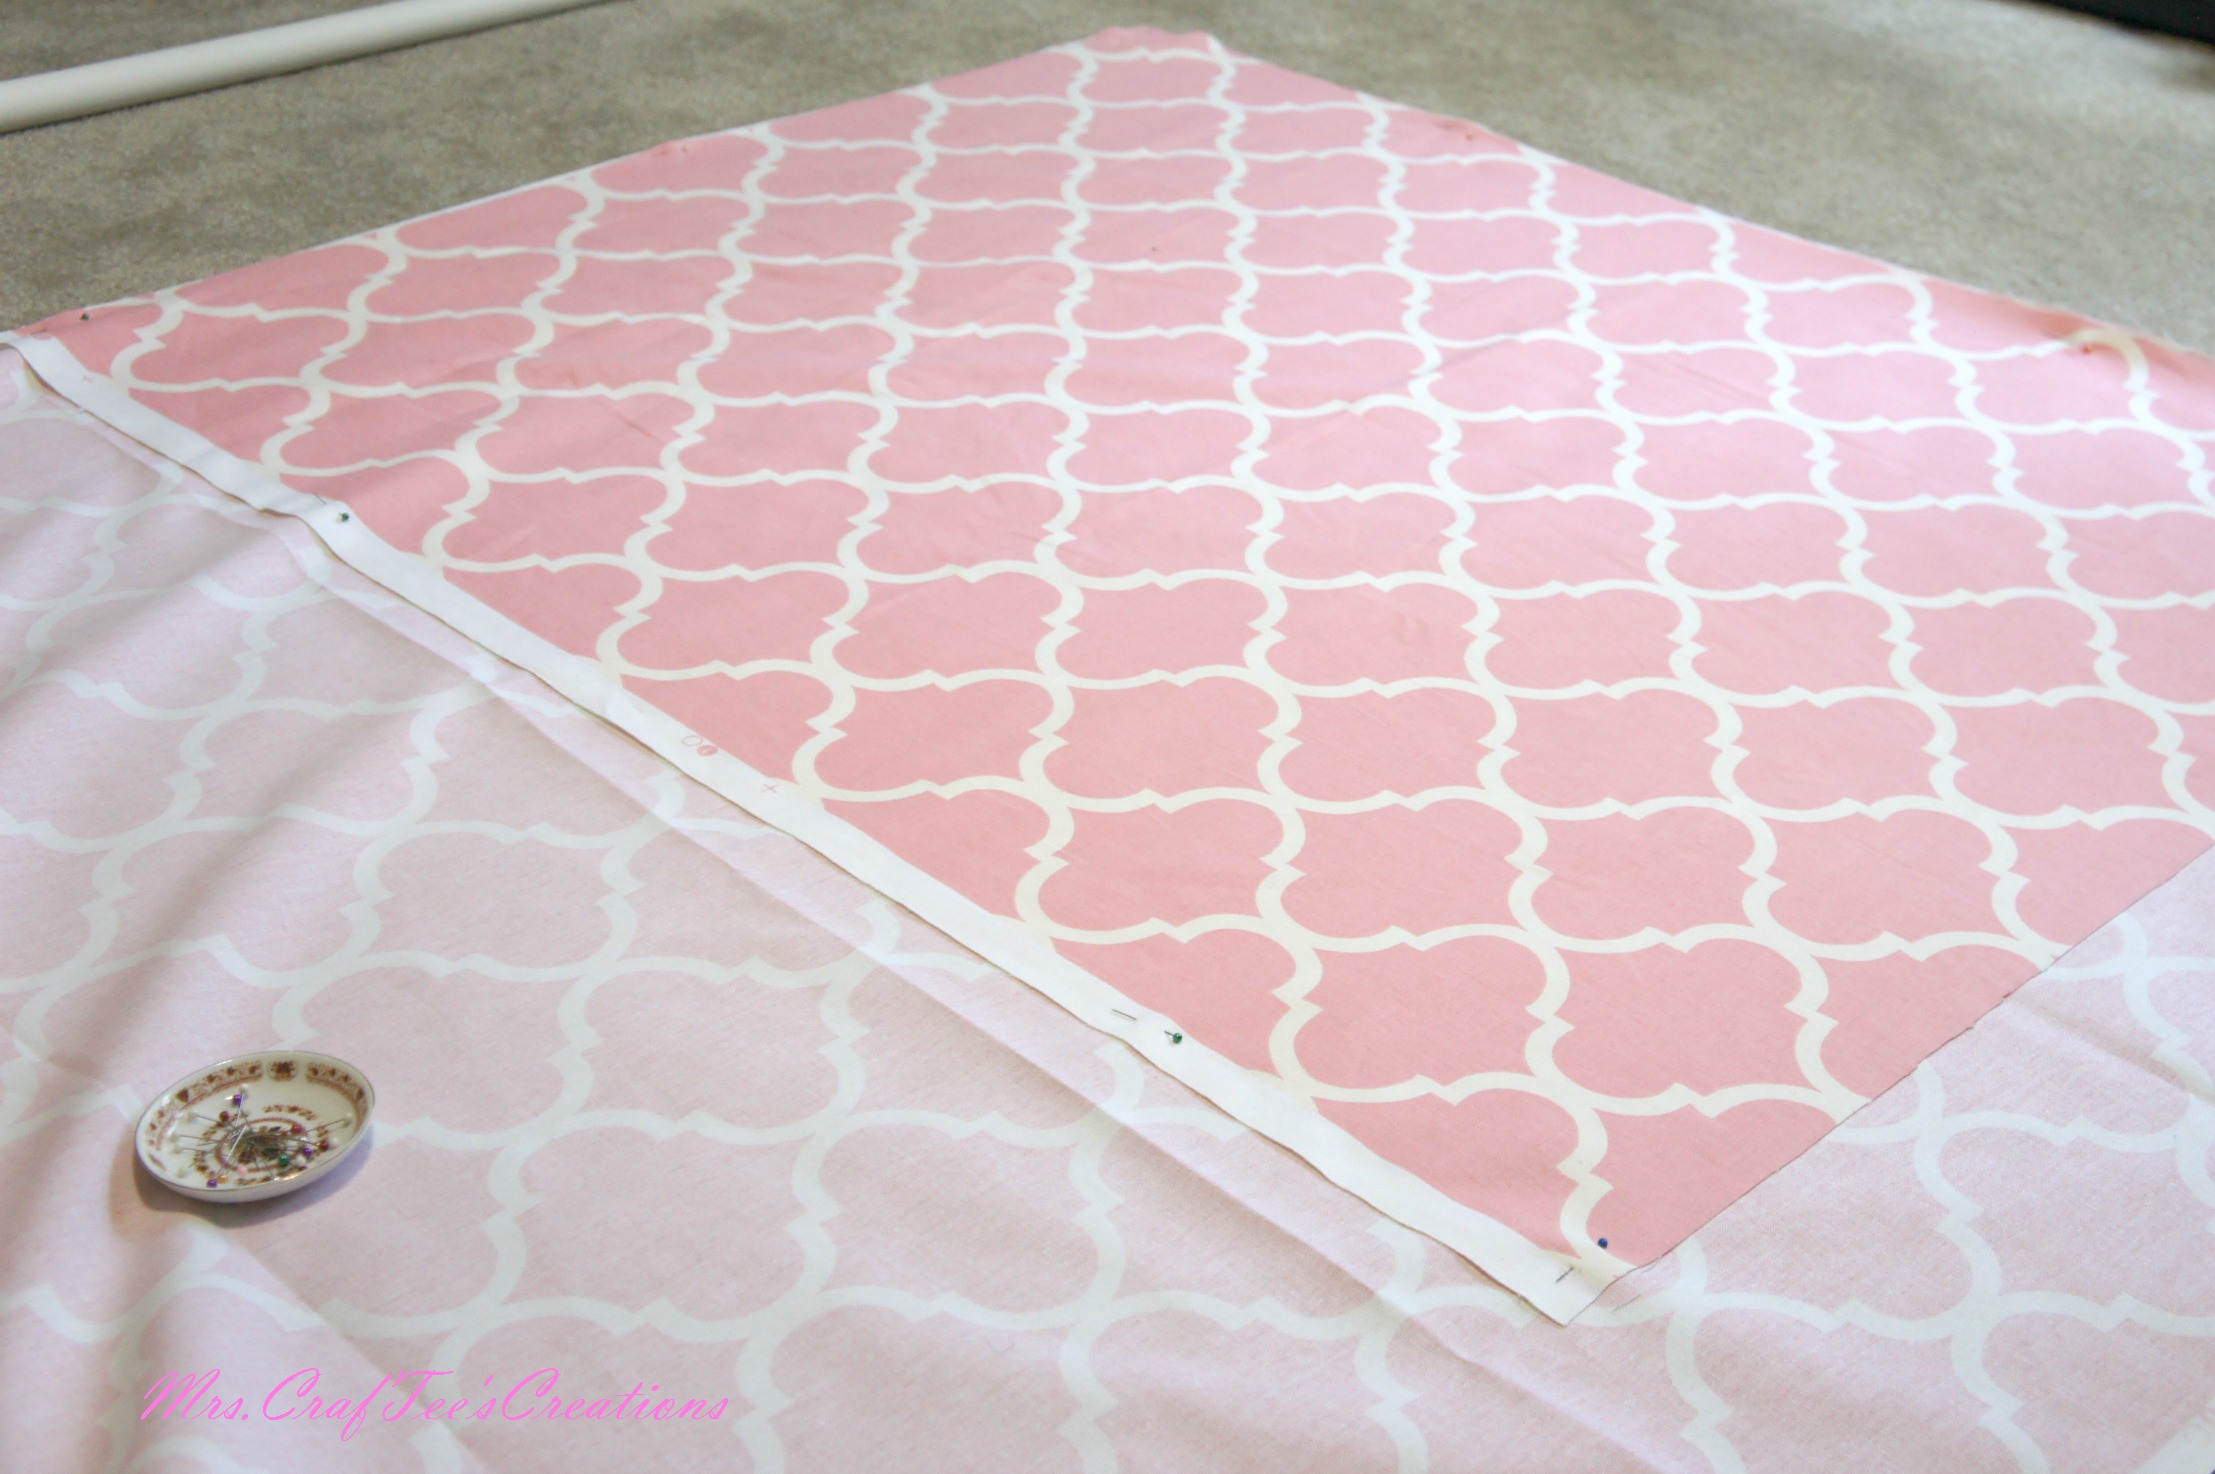
Double up your fabric and pin it together.

On the wrong side of the fabric measure ~ 5″ from the frame to the end of the fabric on all sides. This will vary depending on the width of your PVC. Mark this measurement and make another mark about 1″ from the edge of the fabric.

With the frame placed on the fabrics wrong side make a vertical line about a half inch up from the start of the PVC joint to the edge of the fabric. Do this to each end of the joint. This will be the area were there will be no fabric to allow the joint to show.

Cut out the squares you just made on the corners. The fabric should look like this.
The optional zipper and cushion insert area:
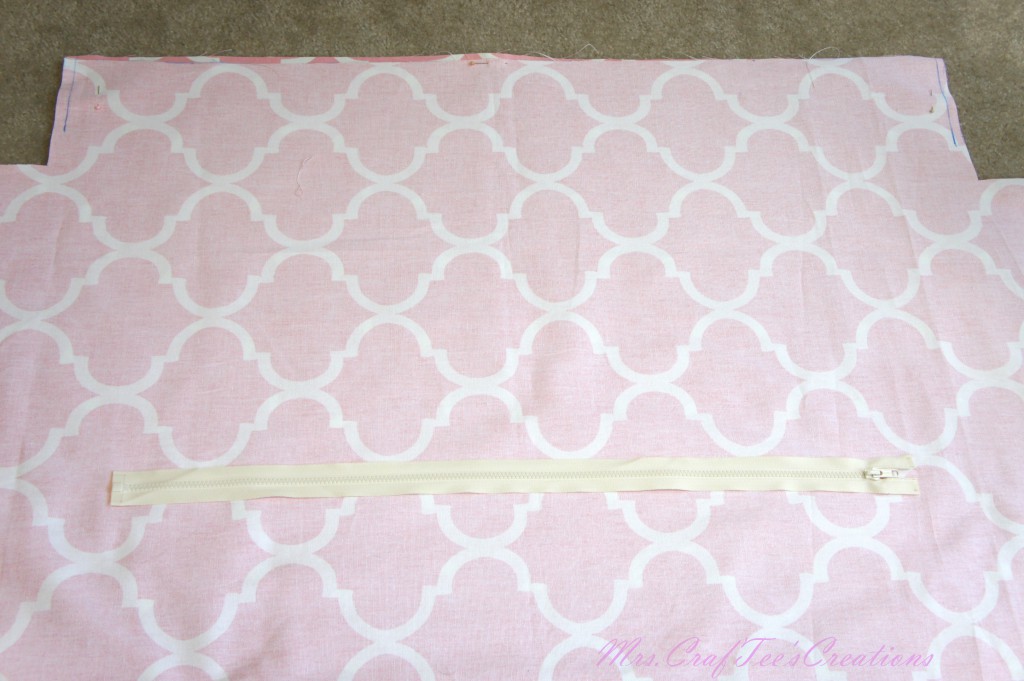
Decide where you would like the zipper. (somewhere on the underside so it does not interfere with the dog’s comfort)

Once you decide where you want the zipper follow the directions on the zipper packaging.
Size the fabric up to the frame one last time.
![Sew the two pieces of fabric together along the edges [If you opted to put a cushion in you will need o make sure you sew the right sides facing each other.]](https://mrscraftees.com/wp-content/uploads/2015/12/Sewing-it-up-1024x682.jpg)
Sew the two pieces of fabric together along the edges [If you opted to put a cushion in you will need o make sure you sew the right sides facing each other.]
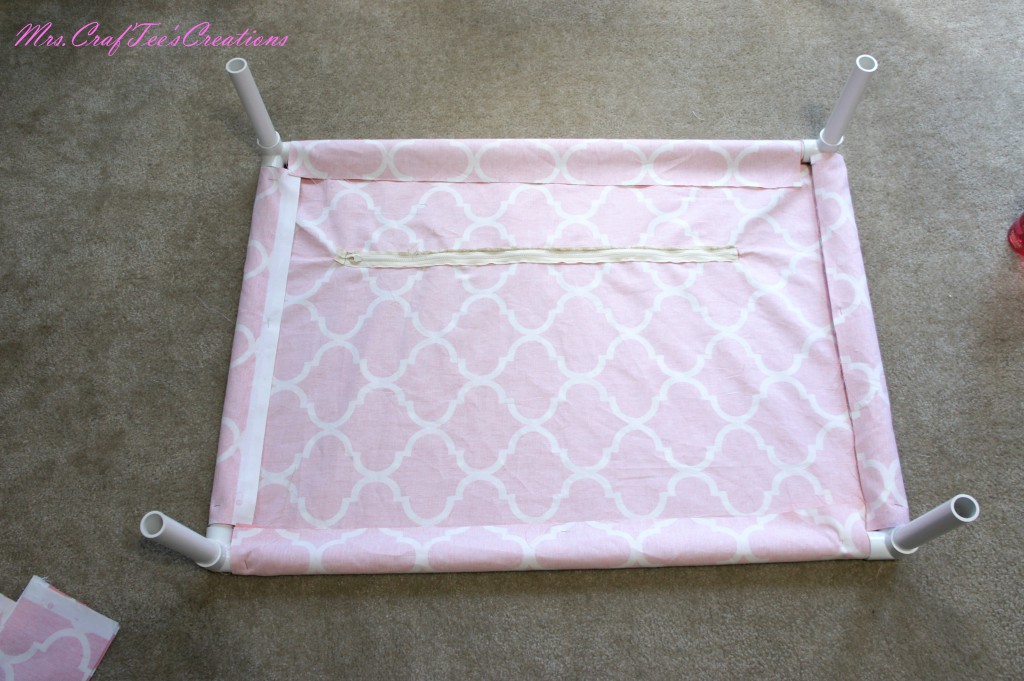
Turn the fabric right side out and fold each edge in on itself lining up the edges to make a perfect Rectangle or square. Sew along the edges. Do this on the side of the fabric that will be on the underside of the bed. After sewing all sides you should have the tubes to slip the PVC pipe in to assemble the bed.
Assembly should be a bit difficult to get all the PVC into the fabric and lined up all at once. It should take some effort. That’s what makes the bed taught and keeps it from slouching in the middle when the dog lays on it.
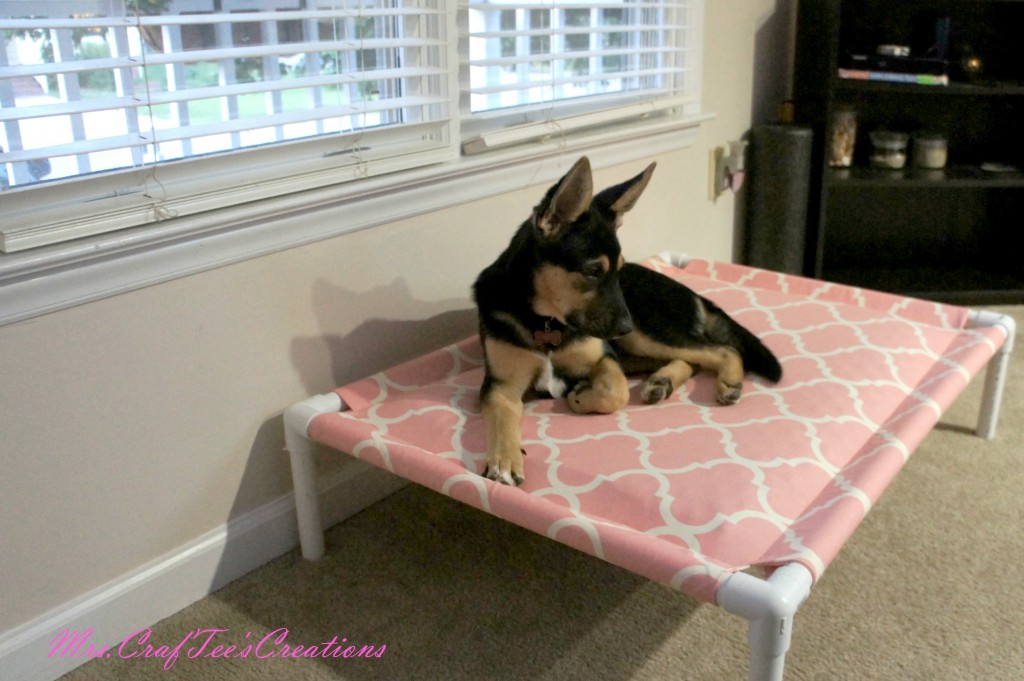
And Voila! You have yourself a fairly inexpensive, very chic, raised dog bed. Let me know if you make one or have better methods to doing this. I’d love to see and hear about it!
Rogue Loves hers!!


Leave a Reply